
After discussing outdoor cooling methods, including outdoor fans, in last week’s episode, I realized we haven’t really talked about indoor ceiling fans. So, this week, I’ll give you some quick. tips on how to select, use and maintain your ceiling fans. The right sized ceiling fan will keep you cool and save you money. Ceiling fans cost very little to run as compared to air conditioners. Running a fan will allow you to set your thermostat at a higher temperature when it’s hot outside so you can save money on your monthly electric bill. According to Energy Star, you can save 3-5% on air-conditioning costs for each degree you raise the thermostat. Unlike air conditioners, ceiling fans don’t lower a room’s temperature or remove humidity from the air. But what we learned last week is that fans make us feel more comfortable by blowing humid air away from us and allowing the moisture on our skin to evaporate more readily. That’s what cools us down, making us feel 4-8 degrees cooler. Ok, let’s get into those quick tips.
CEILING FAN QUICK TIPS
1. Put ceiling fans throughout your home without hesitation. Several years ago, ceiling fans lost some popularity, especially in custom built homes. In their place, homeowners started putting in fancy lighting fixtures. But, ceiling fans are back on trend. Today’s ceiling fans are sleeker and more stylish than those of the 1990’s. So, use them liberally in your new home-- in bedrooms, living spaces and even outdoors. 2. Select the right size ceiling fan for your space. Properly sized ceiling fans run more efficiently and last longer than fans that are too large or too small for a space. A small ceiling fan in a large room will have to work twice as hard to cool you off, which will result in the motor burning out quickly. A large fan in a small room will create an uncomfortable amount of airflow. Ceiling fans range from 29 – 54 inches. The most popular size being a 52-inch model, meaning the blades of the fan span 52 inches. 52-inch fans work best in rooms that are 225 to 400 square feet. Choose a 42- to 44-inch model for a 144 to 225 square feet room. For very large rooms, like oversized great rooms, you’ll want to install more than one standard sized ceiling fan, or you can choose extra large fans from companies like Big Ass Fans. If you think I’m joking about the name of that company, I’m not. The American Lighting Association has size guidelines for ceiling fans which you can see below: Room Dimensions Suggested Fan Size Up to 75 sq ft 29 – 36" 76 – 144 sq ft 36 – 42" 144 – 225 sq ft 42 - 44" 225 – 400 sq ft 50 – 54" * Reference: American Lighting Association, 2003 3. Don’t search for Consumer Reports ratings on ceiling fans because they don’t exist. According to Consumer Reports, they don’t rate ceiling fans because they say “in our past tests, most ceiling fans performed similarly on low and high speeds." The folks at Consumer Reports go on to say that in the past, they tested a number of 52 inch fans that had 3 speeds. They found that spending more didn’t guarantee better performance, but the higher price did get you fancier finishes on the motor cover and blades. 4. Turn your ceiling fan off when you leave the room since fans cool you, not the room. 5. Look at CFM (cubic feet per minute) numbers on the box or on the manufacturer's website. The higher the CFM number, the better the air movement. But be cautious because a higher CFM number also means more wind noise. Not motor noise, but wind noise. Motor noise is not affected by CFMs. Also be wary of fans with large blades that have ridges, bumps, or some sort of surface texture because those are noisier than fans with smooth blades. 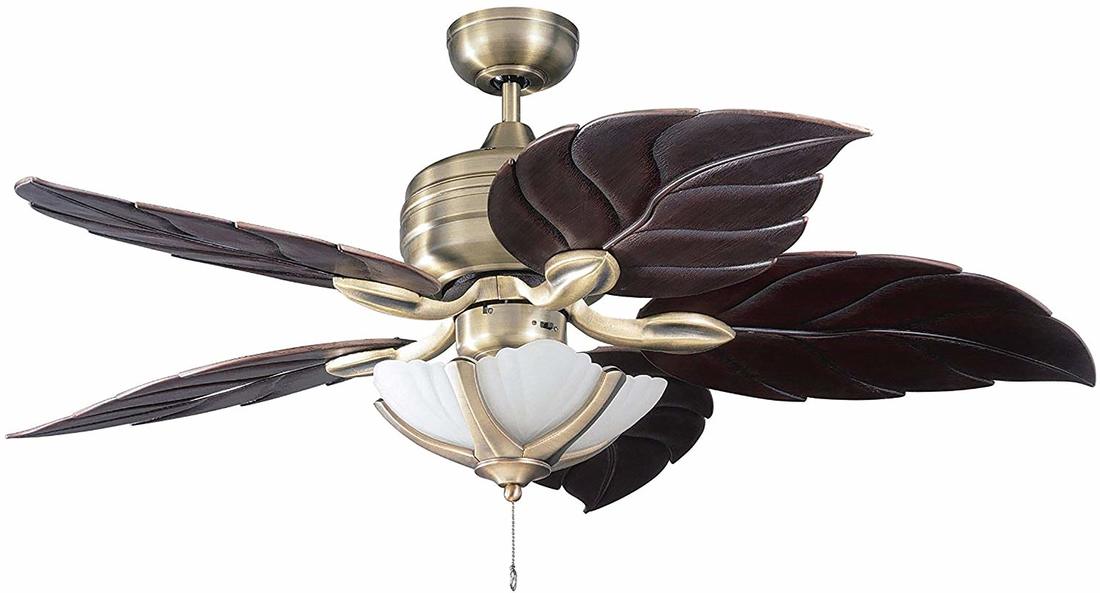
BESIDES BEING KINDA 1993, THIS TEXTURED CEILING FAN WILL BE LOUDER THAN A FAN WITH SMOOTH BLADES
6. Fix the Wobble. I have a wobbly ceiling fan in my current home and I thought it was something I just had to live with. But, what I learned is that there are balancing kits that you can buy in big box stores that will fix most wobbles. The balancing kit is a combination of clips and weights. The weights attach to the fan blades to add a bit of extra weight to balance the fan. The removable clips help you determine where to place the weights. You can eliminate most of the wobbling with these balancing kits, but wobbling that comes from a worn down motor usually can’t be eliminated. 
BALANCING KIT
7. Look for the Energy Star label. Fans that earn the Energy Star label move air 20% more efficiently than standard models. And Energy Star fans with light kits are 60% more efficient than conventional fans with light kits. Look for ceiling fan light kits that use super energy efficient, very long lasting LED bulbs. Not all ceiling fans use all types of light bulbs. 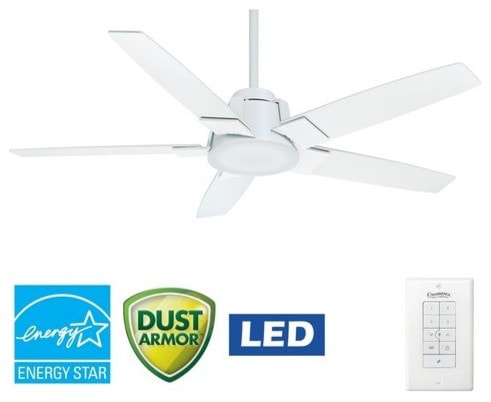
8. Install a ceiling fan in the center of a room with blade tips no closer than 18 to 24 inches from a wall or drapes. Fan blades should be 8 to 9 feet above the floor for optimal airflow. You can use downrods for higher ceilings. Downrods are pipe-like rods that extend from the ceiling to the top of the fan to get the fan closer to that optimal fan height of 8-9 feet above the floor. Downrods range from 3 inches to 120 inches. Sloped mounts and downrods are used for ceiling fans mounted on tall angled or vaulted ceilings. 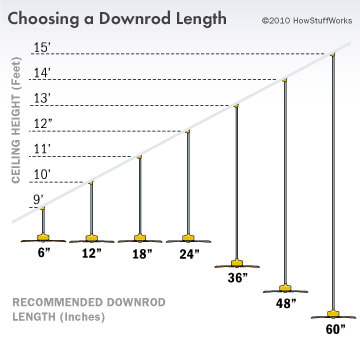
9. Use Hugger or Low Profile fans for rooms that have ceilings under 8 feet in height. Hugger fans are great for rooms with lower ceilings, but they won’t move as much air as regular ceiling fans because the blades are closer to the ceiling. 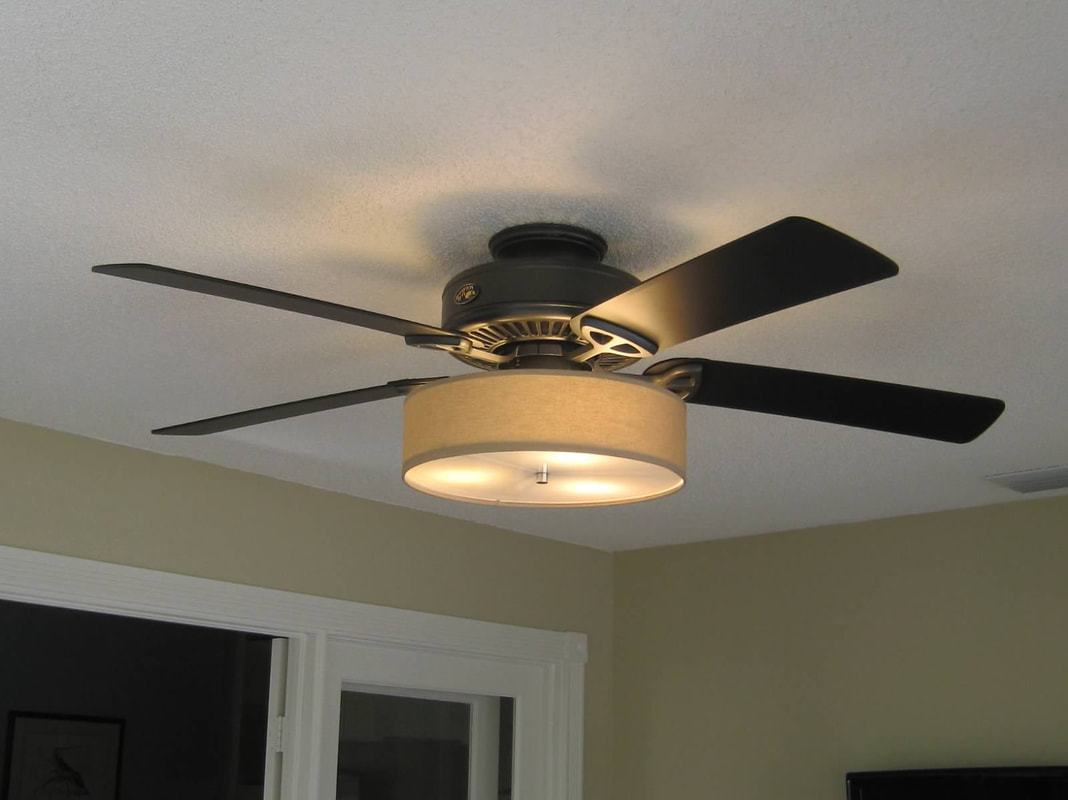
LOW PROFILE FAN
Alright, ready for a POP QUIZ? Here’s the question Is it okay for outdoor fans to be installed indoors? We learned about this last week in episode 129 called Keeping your House Cool, Inside and Out. So, is it ok for outdoor fans to be installed indoors? The answer is yes. It’s perfectly fine for outdoor fans to be installed inside. But you should never install indoor fans outdoors. That brings us to tip number 10… 10. If you are placing a ceiling fan in a damp room, like a bathroom, you’ll want to choose a fan that’s UL damp rated. Outdoor fans are either UL damp rated or UL wet rated. 11. Clean your fan blades at least once per cooling season. Dirty fan blades don’t move air efficiently. Plus the more dust on a ceiling fan, the more likely that dust is to fly around the room. I haven’t tried this, but one site said that you can decrease the amount of dust that accumulates on ceiling fans by waxing the fan blades with car wax. Before you go all in with waxing your fan blades though, spot test a small section of a blade to make sure the car wax doesn’t discolor the fan. 12. Use your fan in warm and cold seasons. During the summer, you want the fan to create a wind chill to cool you down, so your ceiling fan needs to run at a higher speed, in a counter clockwise direction as you look up at it. The hotter you are, the higher the speed should be. During the winter, your fan should run at a low speed in a clockwise direction. This gently draws cooler room air upward and it draws warmer air that’s normally near the ceiling, downward. To remember which direction the fan blades should turn, in which season, remember that the double C’s in counter clockwise go with the double Ms in summer. You might also remember that the S in summer looks like two Cs pasted together— on C facing backward (2 Cs standing for counter clockwise). Both are admittedly goofy ways to remember which way the blades should turn, but hopefully they will help you remember that during the summer, fan blades should turn counter clockwise when you look up at them, and during the winter blades should turn clockwise. Please remember that the purpose of this podcast is simply to educate and inform. It is not a substitute for professional advice. The information that you hear is based the only on the opinions, research and experiences of my guests and myself. That information might be incomplete and it’s subject to change, so it may not apply to your project. In addition, building codes and requirements vary from region to region, so always consult a professional about specific recommendations for your home. That's all I have for you this week. Thanks for stopping by.
0 Comments
Your comment will be posted after it is approved.
Leave a Reply. |
 RSS Feed