Putting in some time and effort to get organized before we break ground will help the construction process go more smoothly and be less stressful, for us and our contractors. It’s important to get information out of our heads, and out of our numerous piles of magazines and papers, and off of our scattered sticky notes, and instead, organize all of our design and construction information into an easy to use system. This week we’ll talk about how we can organize all the information we’ll gather before and during the construction process. The 3 main systems that are usually used for this type of organization are: 1. Large 3 ring binders with tabbed dividers labeled for different sections of the house. Get the largest binders you can find because there is a ton of information. 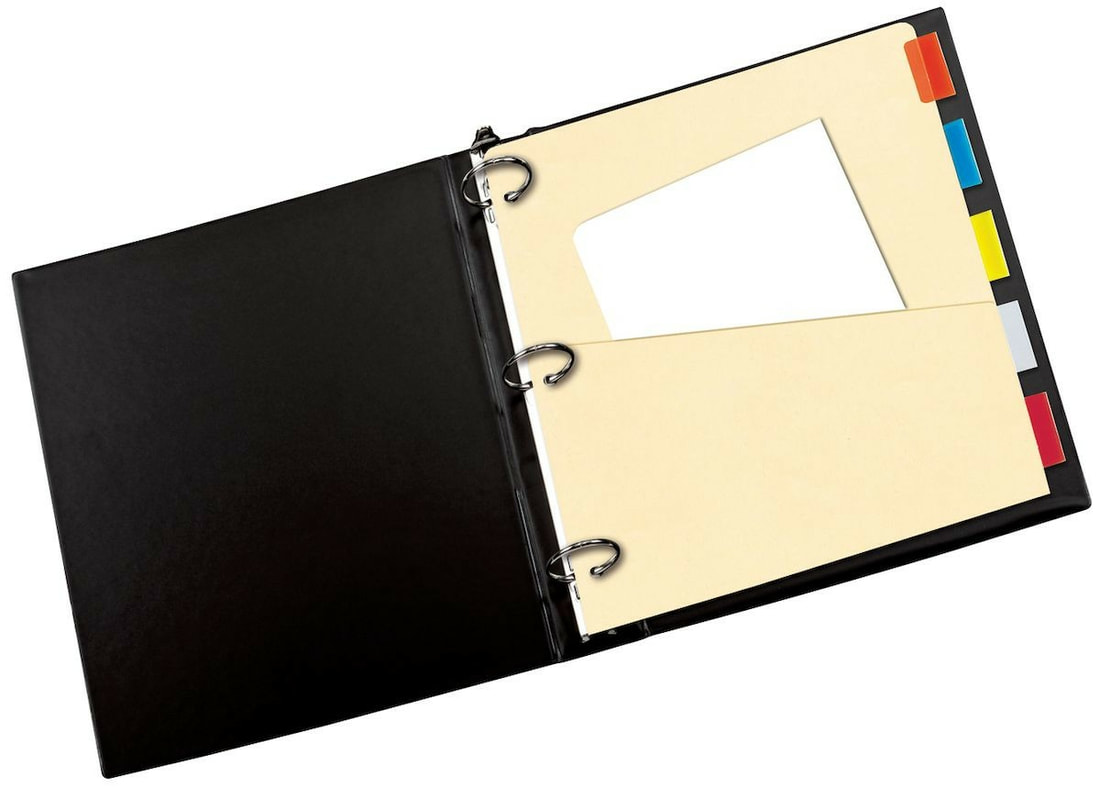
2. Filing systems such as an accordion file or a box filing system, again with tabbed labeled dividers. 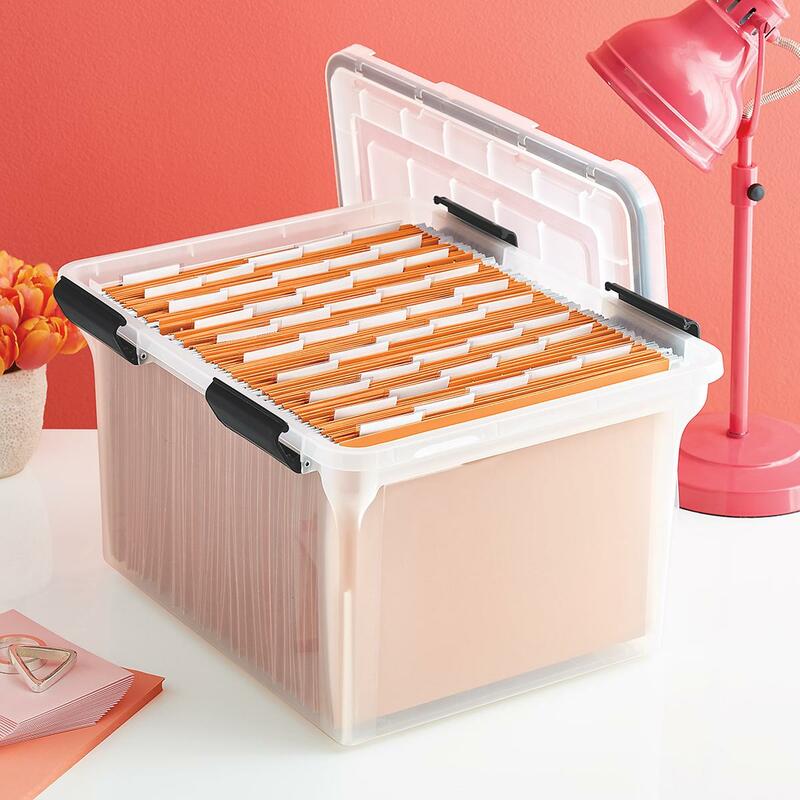
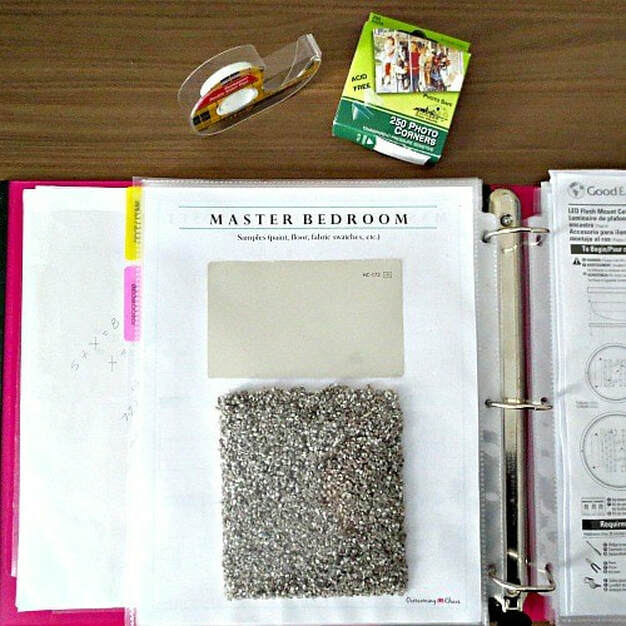
3. Digital systems such as Excel spread sheets, Google Drive or note taking systems such as Springpad, Trello or Evernote that you can access from your computer and smart phone You have to be honest with yourself in deciding what system is best for you. If you’re like me and not very technologically savvy, and you’re more comfortable with paper and pen, trying to learn a digital organizational system is probably not the best idea, at least not for a project as large as building a house. The shear amount of information that needs to be organized is overwhelming in and of itself. Adding in the potential overwhelm that could come with learning a new technology might be way too stressful. Ok, after you decide what type of organization system you want to use, what do you do next? To help you start a list of what design features you want in your new house, think about the home you presently live in. What design features work well? What features are not working for your habits and lifestyle? Include those elements that you love in your new home and think about how you can improve your least favorite elements. Walk through each room of your current home, either physically or mentally, and make a list of things to keep and a list of things to change. You can also start by saving photos on from magazines, Pinterest and Houzz. And keep them organized by room from the very beginning. Definitely organize your notes and photos in a way that makes the most sense for you. One the most effective and most popular ways is to create a separate section for each room of the house. You’ll also want sections for the major categories of the construction process. For example, you’d want sections for each living area, each bedroom and bathroom, the kitchen, laundry room, mudroom, garage, etc. Information about most closets would usually go under each bedroom tab and the pantry notes and photos would go under the kitchen tab. But, if you’re planning a particularly large or very detailed master closet or pantry, they might need the own dedicated sections. Each room section of the organization system should have a room finish schedule. A room finish schedule communicates to the builder and subcontractors exactly what finishes you want for the flooring, ceiling, and each wall of each room. The schedule should also include details about the paint colors, tile selection, trim and molding, doors, etc. I suggest writing things down as bullet points that you and your contractors can read quickly and easily. Be as specific and detailed as you can about the finishes and fixtures that will be included in each room, including colors, brands, model numbers and sizes. You can also specify installation or application instructions for each room— whether you want things installed according the manufactures instructions or according to your specific instructions. To be extra clear about what you want included in each room and where you want to put certain elements, you can give your contractors a diagrammatic reference. Take the pdf file of your house plan and enlarge each room so that it fills an 8 1/2 x11 sheet of paper. Using different ink colors and sticky tabs, mark where you want certain items such as lights, outlets, vents etc. Put a number by each outlet that you mark to indicate whether you want 2 or 4 sockets in each outlet. Mark the placement of everything that you can think of. You can even include furniture diagrams to scale which will help you recognize the best placement for vents and electrical outlets. In each room section of your digital or written organizational binder or file, add inspirational photos along side your bullet list and marked up floor plan. Narrow down your inspiration photos from magazines, Pinterest, Houzz or other resources and file a few of your favorites in the appropriate sections of the binder. If you’re using a written, physical binder, slip copies of photos in slotted file sheets or clear plastic covers. 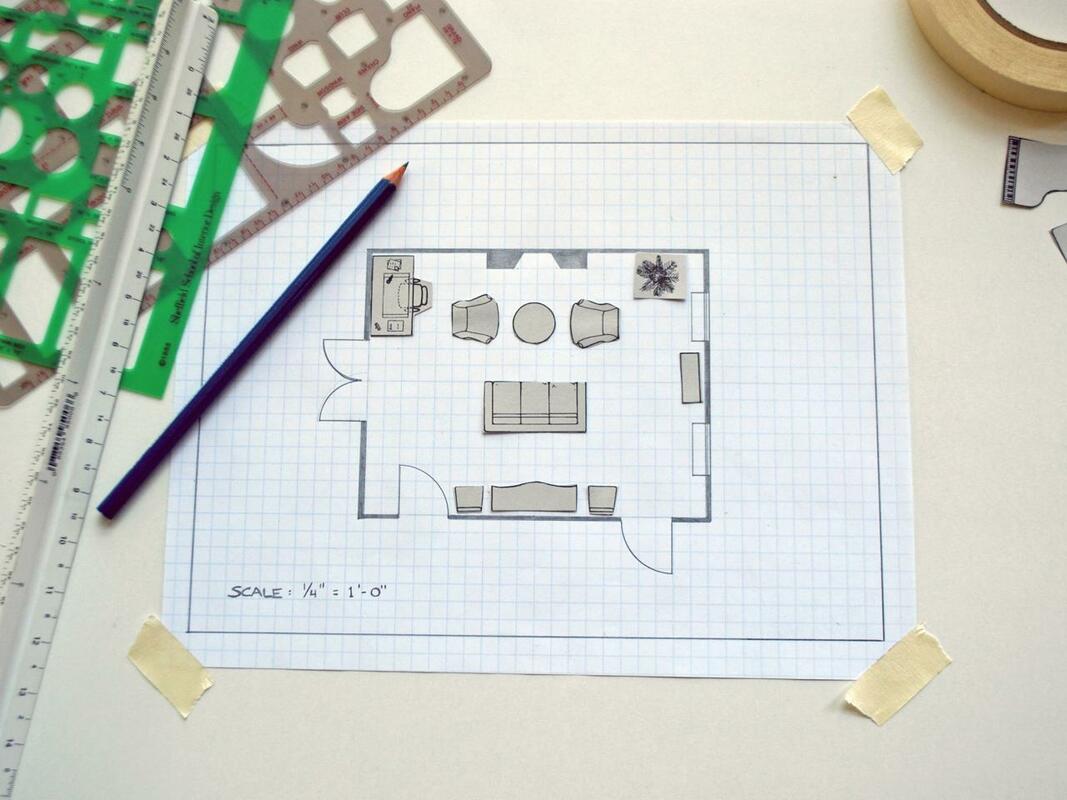
In addition to having a tab for each room in the house, you can include all or some of the following tabbed sections:
You can, of course, use more or fewer sections than I just listed. You can lump several sections together if you want fewer tabbed sections, or you can split items into even more sections, if you prefer. And It might be easier to repeat the same information in a couple of places in the binder so you can readily find it. For example, you might put a master list of plumbing fixtures under the plumbing tab, then list out the specific fixtures needed for each specific room under that room’s tab. Bottom line is there is no right or wrong way to organize this information, just create a system that makes sense to you and that you can easily reference. For the notes that you’ve taken from this podcast/blog and from other blogs, books and other resources, take the time to jot information down in the appropriate areas of your organization system. Again, bullet points make reading information much easier. Here are a few more organizational tips: -Take notes on all phone conversations, meetings and job site walk-throughs that you have with the contractors and file those notes too. This is especially important if changes are being made. If you can, send a corresponding, follow-up email to the professionals involved regarding things that were discussed verbally. That way there is a written record of changes and communications. -Take photos of your house at all phases of construction and file representative photos in the binder. Pictures of the framing, plumbing, HVAC and electrical components that will be hidden when the drywall goes up can be a great resource for contractors during construction, and for you once the house is complete. 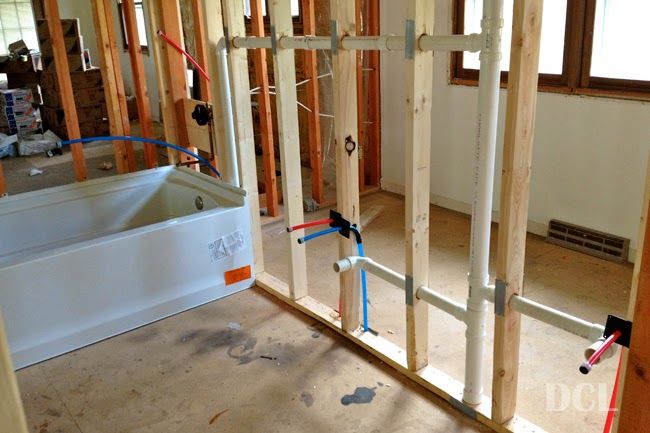
-Select your materials, fixtures and appliances sooner rather than later. Using an organizational system like this means making selections well before they’re needed. You really can’t make them soon enough. That doesn't mean you have to order your selections, but you should be ready to order them when the time comes. -If you’re going with a written binder, you’ll need more than one. At the very minimum you’ll need three binders: one for you, one for the builder and one that is located in a clean, safe place on the job site. The job site binder can be used as a guide for subcontractors as they are doing their work. Use clear plastic protectors to keep the individual pieces of paper safe from wet job site conditions. You might prefer to mix and match organizational systems. Maybe you’ll have digital file that you can access from your phone plus a file box or binder that you give to the builder and subs. -If you’re not using a digital system that will always be with you on your smart phone, keep an organizational binder or accordion file in your car at all times. That way, if you take an unplanned trip to a store or supply warehouse, you’ll be prepared to make an informed decision about what furniture, appliances and fixtures will work for your house. With your binder always by your side, you’ll have your house plans with measurements and information about what you need to buy and what you’ve already purchased, that way you can decide whether what you find in the store, maybe on sale, will work with the rest of your decor. - Keep a bag in your car with a tape measure, a notepad and pen, and a pair of shoes that you don’t care about getting dirty at the job site. Here are a couple of checklists that might be helpful https://www.thehousedesigners.com/articles/worksheets.asp https://www.southlandcustomhomes.com/docs/Build-Custom-Home-Checklist.pdf You can use something like the template below as the budget summary for your binder 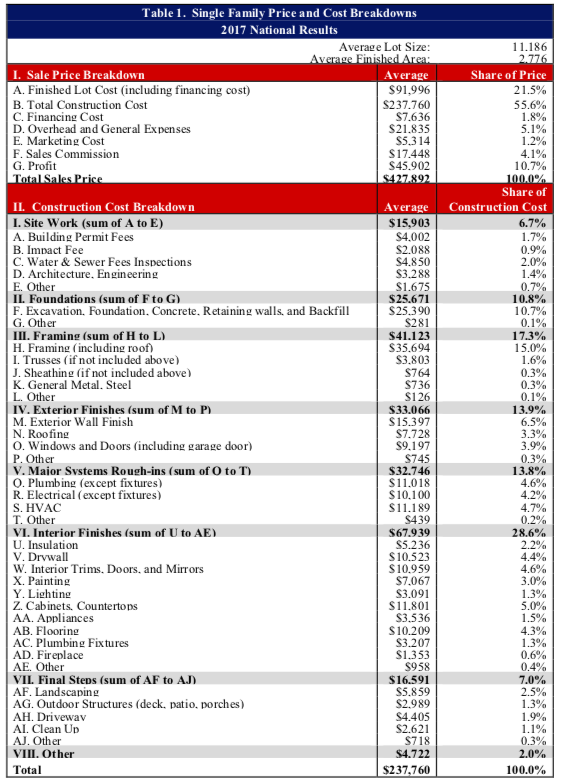
It may seem tedious to file all of this information. But, the goal is to keep the vast amount of data needed to build a house in an easy to find place. When problems or questions arise, you can quickly go to your digital or written files and find the answer. I hope this episode helps make your life and build easier. Thanks for stopping by. Please remember that the purpose of this podcast is simply to educate and inform. It is not a substitute for professional advice. The information that you hear is based the only on the opinions, research and experiences of my guests and myself. That information might be incomplete and it’s subject to change, so it may not apply to your project. In addition, building codes and requirements vary from region to region, so always consult a professional about specific recommendations for your home.
5 Comments
6/14/2019 08:56:14 am
Hi, Michael I saw where you were using pencil and paper to lay out a room. I thought you might get a ton of idea's using Cheif Architect Design for the DYI. You can get a free trial to lay out your home, plug in your furniture, actually put your plan down on paper where you can intelligently talk to someone about it. It's only $100. dollars to buy if you want, in my case money well spent. Basically I just wanted to layout my walls and plug my furniture and windows in so I could intelligently talk to whoever was going to put this to a blueprint. I am not computer person so most things on a computer are a real chore for me, but I got the floor plan done, and I am able to make changes, as I go along. They have a ton of tutorials, plus very helpful staff, if you have a question. I would send you a picture, but I don't know how, anyway you could go all the way from a floor-plan to designing a home if you want to go that far. I listen to every podcast, for idea's, Thanks
Michelle @BYHYU
6/14/2019 09:04:12 am
Great info! Thanks Ralph. 6/14/2019 09:11:50 am
Hi, Michael I recently stumbled on to a home visualizer on line. Where you could plug your a picture of your home in, or use one of their's, and pick your colors and materials in and get an idea of what your house would look like, very informative, and free. No sense making a expensive mistake that that you may have to live with for years. I didn't give my information to them, so I couldn't print my house colors. But I do plan to do that later when I plan to build. I was surprised, that I liked the darker color for the field of the house. I do enjoy your site very much, I hope I helped. Thanks
Michelle @BYHYU
6/14/2019 06:13:44 pm
Thanks for telling us about that tool Ralph. I guess we could Google “Home visualizer” to find something like that to help us. 6/14/2019 06:48:59 pm
Hi Michelle, Oops, I had the address in the website block, didn't realize only the comments block are shown. This site has 11 free home exterior visualizer software programs to look at. One should meet your needs, just an idea of what's out there. Thanks Your comment will be posted after it is approved.
Leave a Reply. |
 RSS Feed